
Welcome to a step-by-step guide to making this cute Thanksgiving burlap art project.

I was blog hopping today, visiting lots of sites from various link parties I've joined lately, and came across this easy looking project.
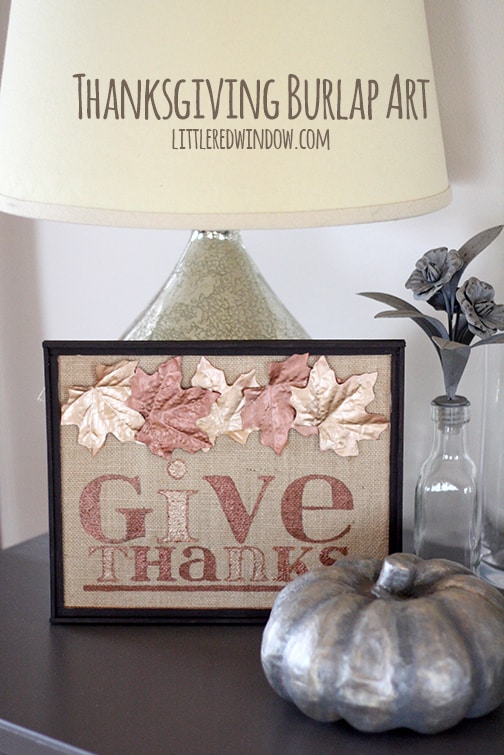
I thought "I can do that!" And so with a few modifications to the methods and materials, I made my own version of this project in just about a couple of hours.
Lately I've made a pact with myself that I won't spend any money on craft supplies (or new Christmas decorations either!), since I have such an ample stash of stuff in my craft room. So when I saw this project, I knew I'd be ok to make it, since I had everything already on hand.
I started by finding a black picture frame that was unused. I took the back off, took the glass off, and used the glass as a template to cut a cardboard sheet just the right size. I hot-glued a sheet of burlap onto the cardboard.

In the original blog article, the blogger cut a template out on her Silhouette machine for her stencil. Well, I don't have a Silhouette machine. And I wasn't interested in fussing with an Exacto knife on contact paper, either. So, I dug around in my scrapbooking supplies and found a few different sheets of plastic lettering stencils. Then I got brave, and just used an old cheap craft brush to paint on some acrylic paint. It worked! I washed the stencil off after every letter with no trouble.

To do the next letter, I used a piece of scrap paper to lay on top of the previous letter so that paint would not get on the stencil or get dragged around onto other parts of the burlap. The acrylic paint dried to the touch really fast, probably because of the very fibrous texture of the burlap. So I never really had any trouble with paint smearing. I stenciled the whole word "THANKS" using this method.

And here it is. I forgot to mention that before I painted anything, I traced the words onto scrap paper to see how large they would be. That helped me know where to start and how far apart to place the letters.
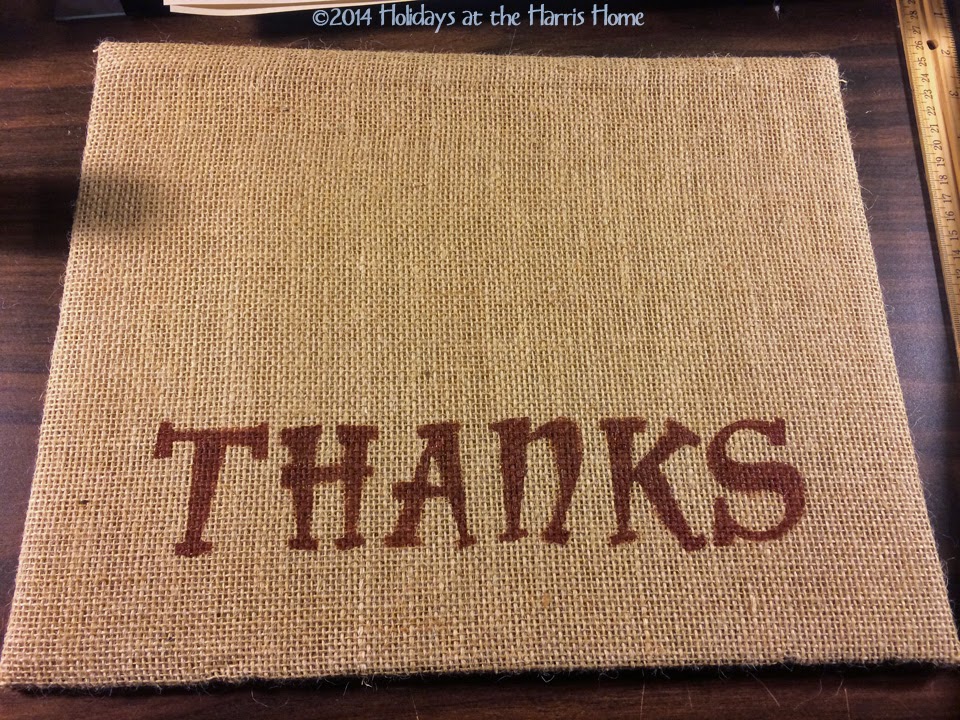
I thought it looked a little weak, and a couple of the edges had bled a little. So I used a regular black Sharpie pen to outline the letters. The photo below shows the type of paint I used. I would have liked to have used copper or gold metallic paints, but turns out I didn't have any. So I dug around and found this brown acrylic paint. It worked just fine.

But I did want to have some shimmer... that's one of the things I liked the most about the original project. So I dug around some more and found these copper and gold metallic paint pens. I used them to lightly color in on top of the paint, adding a copper and gold sheen to alternate letters. Better!

So then I switched to a larger font stencil, and painted the word "GiVE" using the same method as the other letters. I used orange paint (which really as brown mixed with red and yellow, since I had no orange paint) and again outlined it in black Sharpie. (I had to use a lower case "i" on this word to make it fit, but like the original, I think it looks cute this way.)

Next, I ripped some maple leaves off of a fall garland that is currently decorating my living room mantle. No one will ever miss them! I wanted to add some shimmer to the leaves too, so I used the paint pens on them. Not as pretty a the original project, but it would have to do.


I glued the leaves onto the burlap with hot glue. Then I thought that the "GiVE" needed some shimmer like the other letters, so I colored on top of it with the gold paint pen. It covered up more of the orange I than I would have liked, but it's no biggie. Then I popped the whole thing into the black frame and hung it on the wall.

This project was just what I needed today - it cost me $0, it was pretty quick and easy, and turned out pretty cute!

Thanks to LittleRedWindow.com for the inspiration!

What have you been crafting lately? I'd love to hear about it! Please leave a comment to say hello and point the way to your blog!
_________________________________
Linking to:
Dwellings - The Heart of your Home - Amaze Me Monday
Between Naps on the Porch - Metamorphosis Monday
A Delightsome Life: Return to Loveliness
The Golden Sycamore - Inspiration Gallery
Liz Marie Blog - Inspire Me Please
A Delightsome Life: Return to Loveliness
The Golden Sycamore - Inspiration Gallery
Liz Marie Blog - Inspire Me Please
No comments:
Post a Comment