
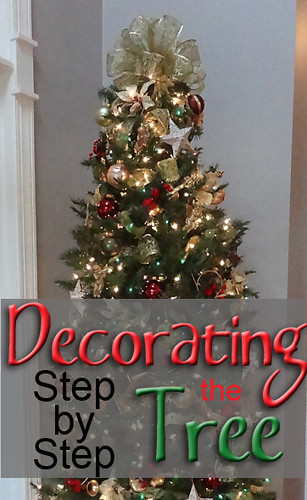
Back in the early days of HGTV, I used to love to watch holiday decorating shows where the designer would show the step-by-step process of decorating the tree, and I learned so much from that. So here I go, taking my own shot at sharing what I've learned.
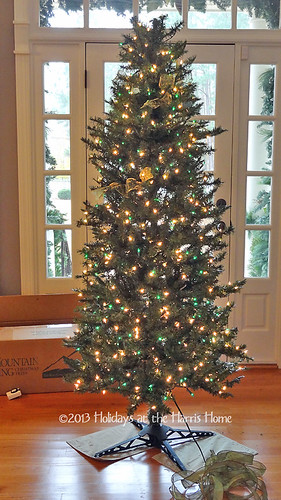
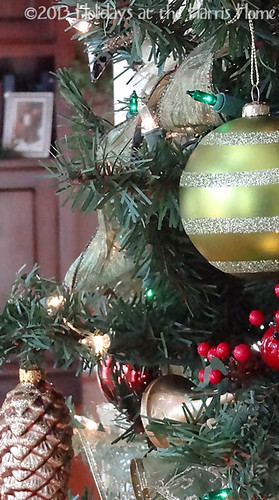
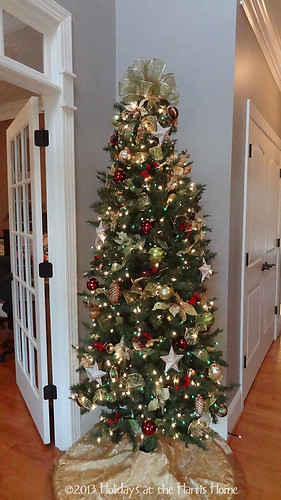
I started out with a slim-line, pre-lit artificial tree. The tree has white lights, to which I added two strands of green lights to add some color sparkle.
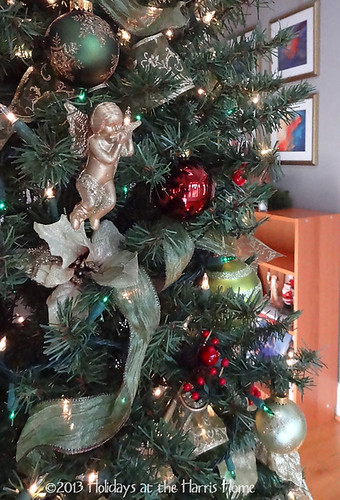
Next, I added some short lengths of ribbon. Sometimes I wind the ribbon around the tree, but in this case, I am using two different types of ribbon, and I'm using only short lengths, placed onto the tree in a kind of spiral formation. I started doing it this way one time because I didn't have enough ribbon to cover the entire tree. I've come to like the way I have flexibility on where to put the ribbon, and it's easier this way, too, which is always good.
With one ribbon type, I created a loop on one end and cut a "v" in the tail end.
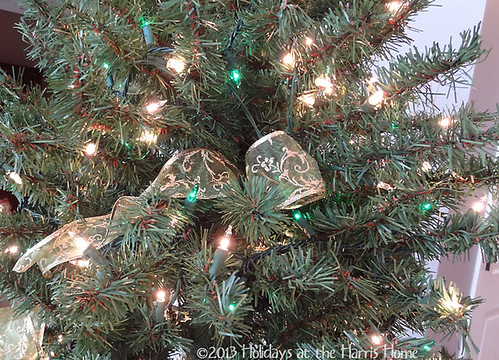
With the other ribbon type, I simply curled it around my fingers,
then stretched it out loosely,
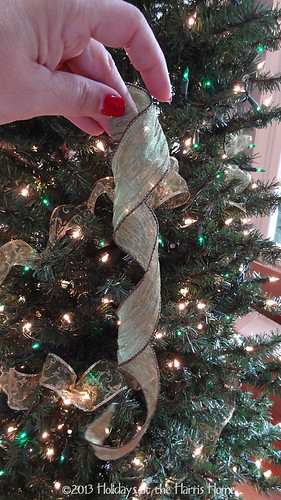
and then sort of shaped it in a free-flowing back-and-forth wave, and put it on the tree.
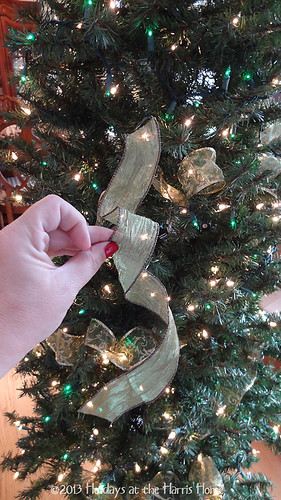
I filled the tree with these types of ribbons before adding any other decorations.

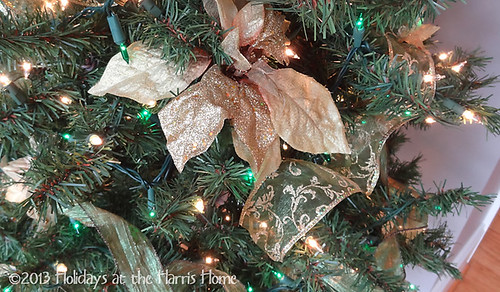
Next, I added some artificial florals in cream and gold colors. This is just to add some richness and fill in some gaps in the tree branches.

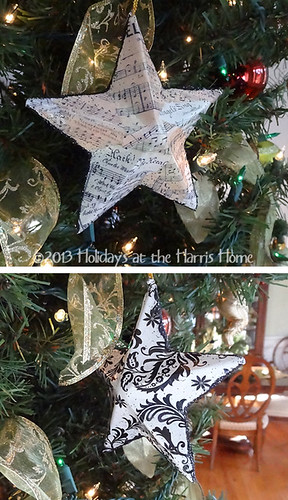
Next, I just started putting the ornaments on. The ornaments on this tree this year are green, gold, cream and brown. There is a lot of glitter too! And to tie with the piano room around the corner, we put a lot of music-related ornaments on this tree too.
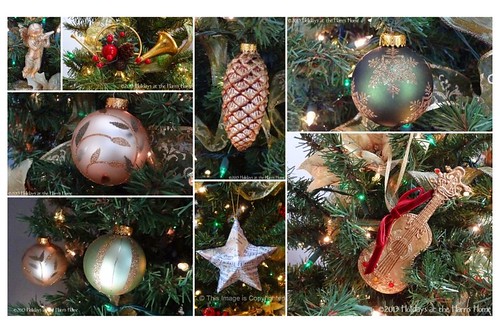
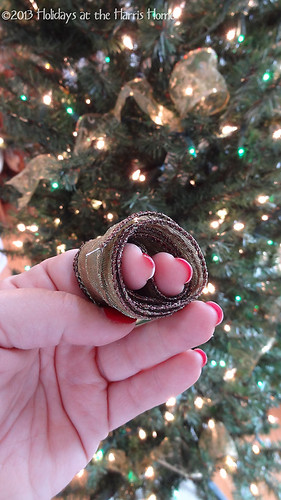
This ornament is one that I made last year. It started out as a brown papier mache form from the craft store. I used Mod Podge, tissue paper, and Christmas sheet music printables to cover the form, then put an edge of black glitter around the edges.
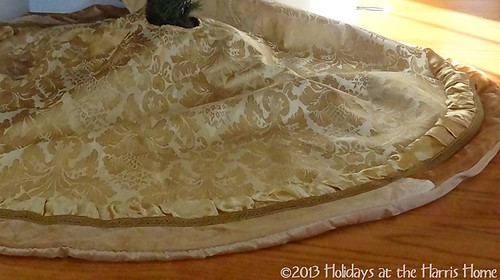
After a while, the tree was full, and I declared it done. Well, almost. I made a quick bow as a topper, and stuck it on top (totally forgot a picture, though). Then I put a gold tree skirt down, and THEN I declared it done.
Thanks for following along as I tried my first how-to demonstration. I'd love to hear about how you decorated YOUR tree this year. Please leave a comment to share your ideas too.
__________________________
Linking to:
Savvy Southern Style's Wow Us Wednesday
Place of My Taste's Work it Wednesday
Someday Craft's Whatever Goes Wednesday
A Creative Princess' It's A Party Thursday
The Golden Sycamore's Inspiration Gallery Link Party Thursday
BNOTBP's Metamorphosis Monday
Be Inspired Friday
It's absolutely beautiful! I love how you used the ribbon, instead of wrapping the tree. I am going to have to try that next year. Delightfully inspiring!
ReplyDeleteOh, your tree is so pretty and thanks for telling us how to use the ribbon. I've always been a bit confused about how to use it. Merry Christmas!
ReplyDeleteBe a sweetie,
Shelia ;)