
So to start off my peppermint theme kitchen, I decided to make a table runner. Well, that's not really how it happened. I was wandering the aisles of Walmart last week, and found this vinyl tablecloth that was peppermint striped, and I thought "Hey! I can use that in the kitchen!" But then I thought that a whole table full of peppermint stripes might be visually overwhelming. So then I thought "why not cut it apart and make a table runner?" Bingo!

I noticed that Walmart was selling this pattern in a few different sizes - but they were all $5. (cheap!) So of course, I bought the biggest one - 120"x60". That gave me a huge amount of material with which to work, and plenty of room if I made any mistakes. (who me?) I picked up some fabric glue too, and so for $7.49 total, my table runner project was born.

Of course, I've never really made a table runner before. But it couldn't be that hard, could it? So basically, I made it up as I went along. That's my "creative process", I guess -- just wing it!
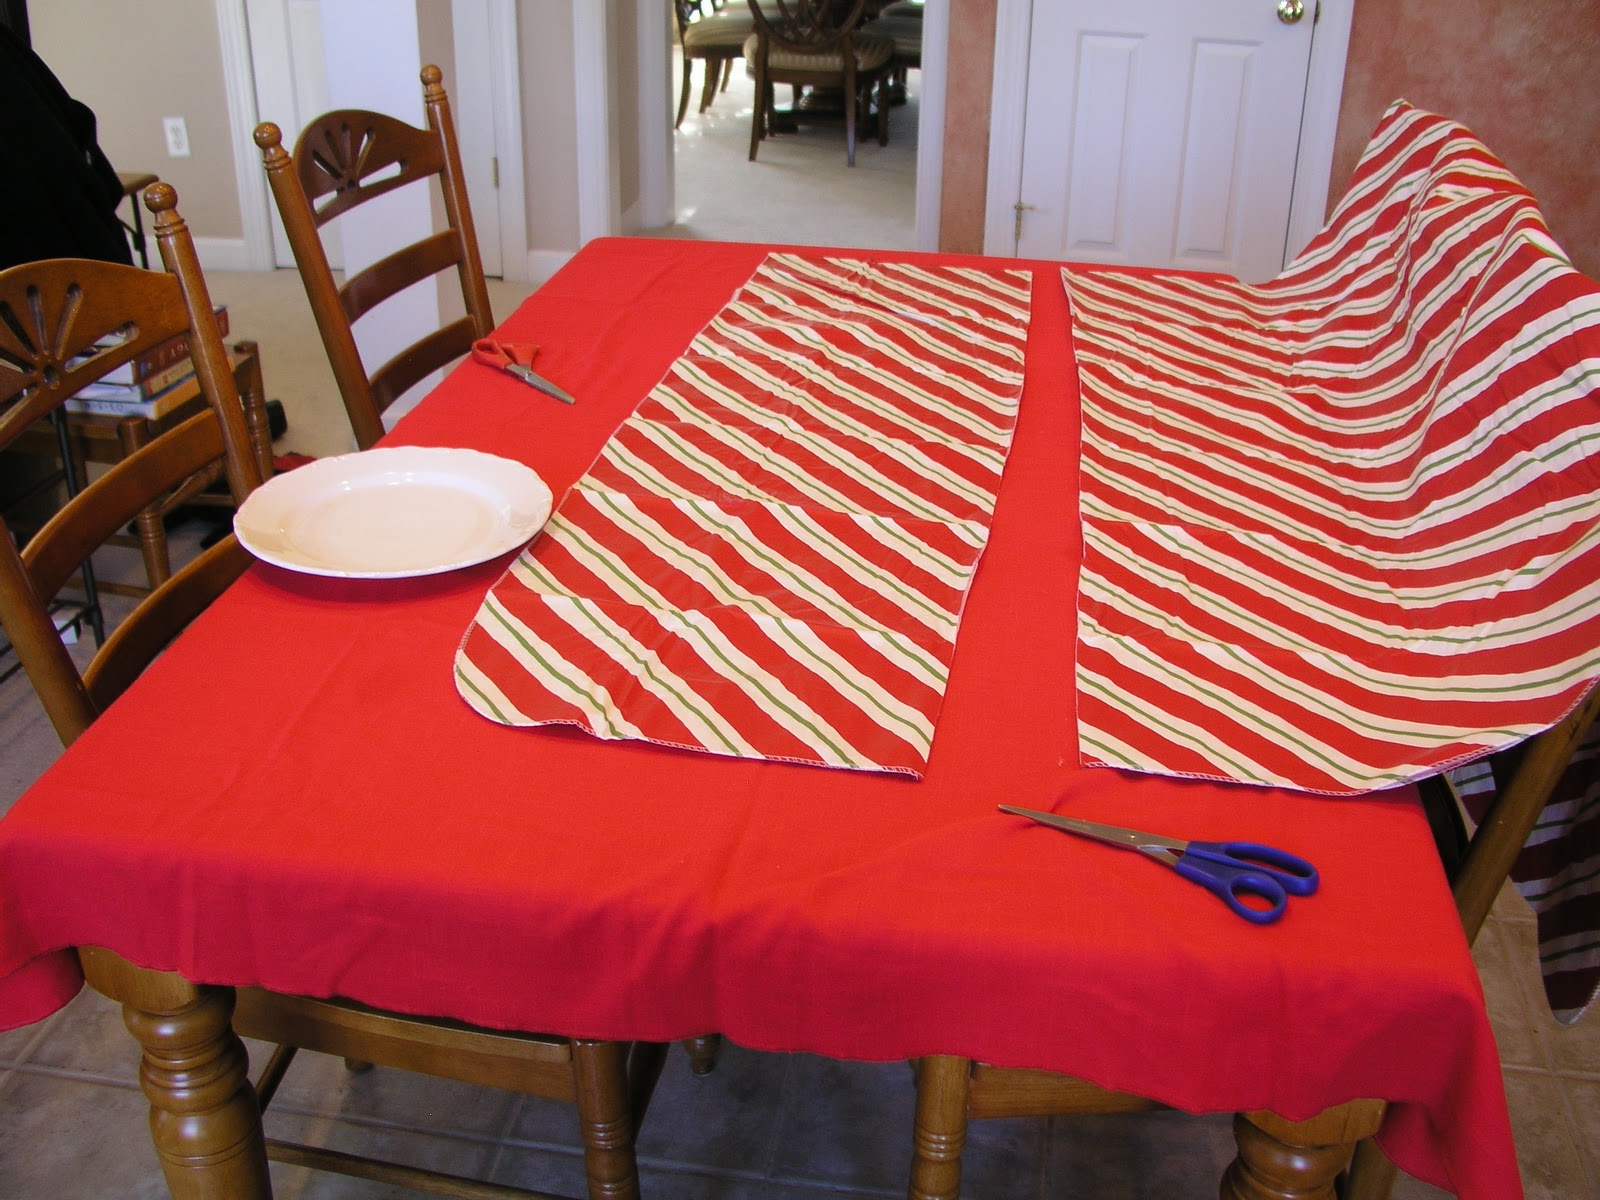
First I needed to determine how wide the runner would be. I tried laying the tablecloth on the table, and eye-balling where to make a cut. The problem with that plan is that I couldn't see past what I was seeing, and imagine it without all the fabric hanging over the chair. So THAT plan wasn't working.

So then I decided to fold the table cloth up into a width that I thought might work, and lay it out that way to see what it looked like. This helped me visualize it a lot easier. I also went ahead and got out the red table cloth that will eventually serve as the base of the table, so I could see how it's really going to look.

Then I thought, "Is that too wide?" I want to be sure to leave room for the dinner plates to be on the table without the runner getting in the way.

But then I thought, "Maybe the plates are supposed to overlap the runner?" I have no idea - I'm just an amateur here! So I decided to just get close and try it and see. If I made it too narrow, I could always cut another one out, and if I made it too wide, I could always cut it down. Not too much analysis here, just get on with it!
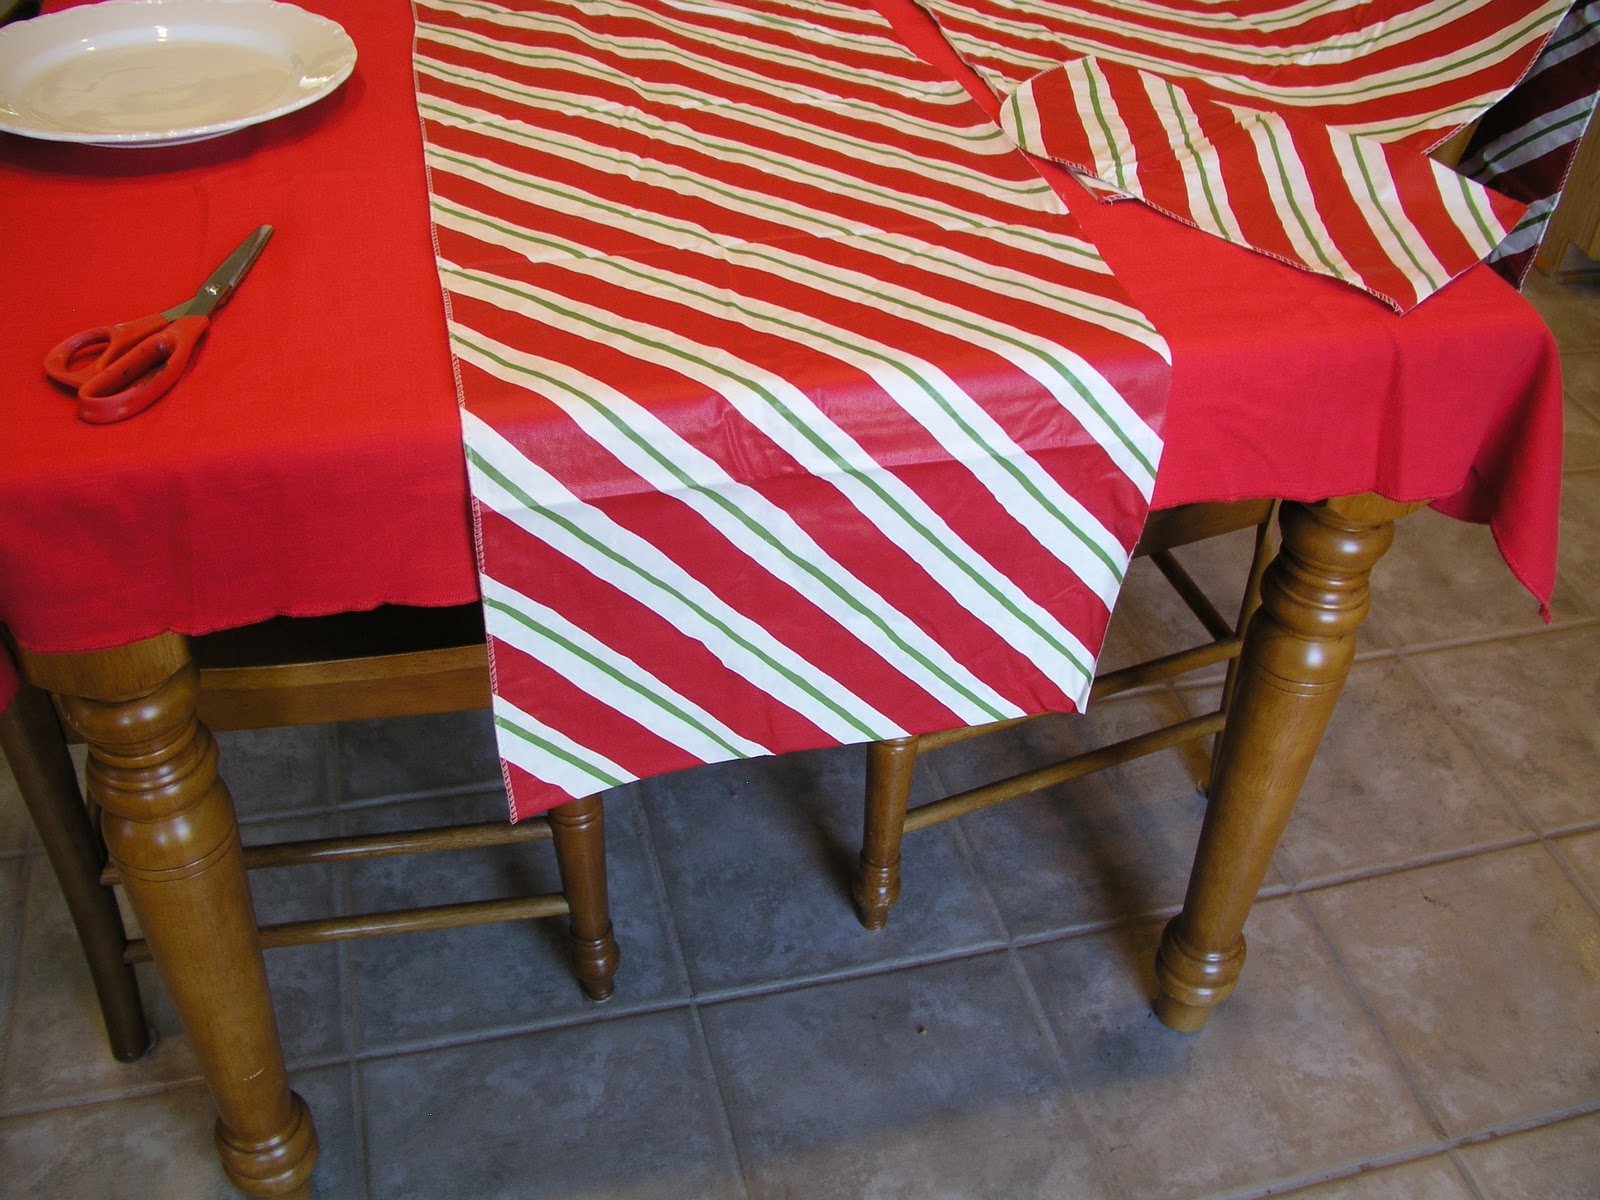
OK then - now I had to decide how long the runner was going to be. I looked at it and thought "Well, THAT's too long!"

So I cut it. And then I thought, "Well, maybe that's the right length." I'm not too sure about the runner being longer than the table cloth. But if I tried to make the runner the same length as the table cloth, then it didn't fold down over the corner nicely - the vinyl was too stiff. The only other option was to make the runner shorter than the table itself, so that it didn't hang down over. I didn't like the look of that either. So I just stuck with this for now. Maybe I'll cut it shorter, maybe I'll buy a bigger red tablecloth. Who knows? It's all a work in progress!
Now on to the edges. There's no science here. I just turned the edges in and glued them down. The fabric glue I used seemed to work, even though it's only got a little bit of flannel backing on the vinyl. I didn't measure anything, and so I'm sure that the edges are not perfectly even. But "good enough" is good enough for me!

I don't have pictures of the next step, but let me just say that those fold marks in the vinyl were really bothering me. I was trying to figure out how to smooth them out, and the only thing I could think of was to iron the runner.
Yes. I ironed a vinyl (plastic) table cloth. Risky, I know. In the worst case scenario, I could have had big blobs of red and white vinyl stuck onto my iron, stuck onto my ironing board, and big holes in my brand new table runner. But the way I rationalized this risk was: I need a new iron anyway, and I have a lot more striped table cloth leftover if I need to re-do it. Sure! Go for it! Put a hot metal object on a thin plastic sheet!
At first I set the iron to its lowest setting, and used an old pillowcase between the iron and the runner. The lowest heat setting made no difference what so ever on the vinyl! I bumped the heat up a few notches, and ironed again. It was better that time. It didn't get all the fold marks out completely, but it made them less pronounced. I didn't want to raise the heat any further, because the vinyl was starting to stick to the pillowcase each time I ironed.
So, here is the finished product. I haven't decorated the kitchen yet, as we have Thanksgiving still to celebrate before the Christmas decorations will be put out.

But I think this gives a pretty good idea of what it will begin to look like.

Hooray for cheap, easy decorating projects!

I can't believe you change themes every year! Wow! What an inspiration! I am starting to get a little tired of the same old, same old, but I feel like I've invested too much in the decorations to back out now. I thought of changing up the dining room colors, but I had already bought a new table cloth, so I'm just not sure! Oh well, it all looks lovely in the end, right? Good job on ironing the vinyl - you're a brave girl!
ReplyDeleteWell, for truth in advertising -- I don't *fully* change themes each year. Only in the last three or four years have I amassed enough "stuff" to really change things up. I just don't put everything out every year, and I rearrange and tweak what i do put out. So last year was a candy and gingerbread theme in the kitchen - this year I only have to modify a little to get a peppermint theme. Also, I rotate what gets changed. Last year the dining room theme was new, but the kitchen was repeated. This year the dining room will be repeated, but the kitchen will be tweaked. etc. I bet you could do the same thing - just rearrange, add a little new here and there, and get a new, fresh look!
ReplyDeleteHi Jenny,
ReplyDeleteI enjoyed my visit to your lovely home-I think you like Christmas decorating as much as I do!
Carolyn
I love this!!! I am going to try to find a post about your kitchen all decorated!!! If you don't get a comment from me, please come back and leave me a link!!!! XO, Pinky
ReplyDelete